A few weeks ago, I was experimenting with some of the effects on Picnik. For whatever reason, none of the effects I typically use on photos satisfied me, so I started clicking on tabs on the website that I typically ignore. I happened to click on the "advanced" tab, where clone, levels, curves, burning, etc. are located. I almost never use any of these effects, so I wasn't expecting any of them to solve my problem. However, I was pleasantly surprised when using Curves. I had never noticed that there were presets that you could apply to your photo like Dramatic Sepia, three cross process options, Velvia, Ambrotype, and Polaroid (to name a few). All of these are good options when you feel that the usual effects aren't doing anything for your photo. You also have the option to fade these effects (to lessen their impact) or to selectively use the effect.
Here are a few examples of how I have used Curves on my photos. You can see that there are varying degrees of subtlety that this effect can offer.
 |
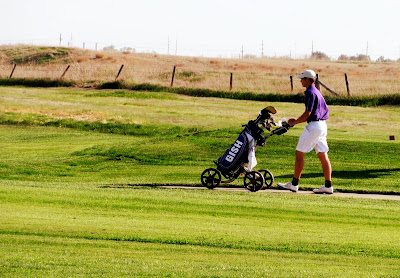
| I believe I used either Velvia or Reala 400 for this photo. Both effects provide more vibrant color and contrast to the photo. |
 |
| I used Cross Process Red (faded) to add a little more of a red tone to this photo. |
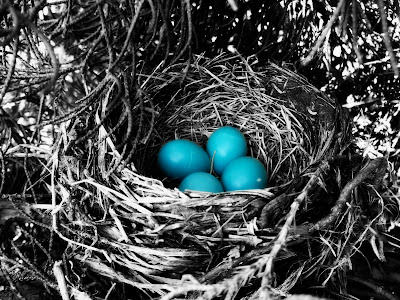 |
| Here's a good example of a selective use of Curves. I applied Dramatic Sepia before using the paintbrush to bring out the color in the robin eggs. |
 |
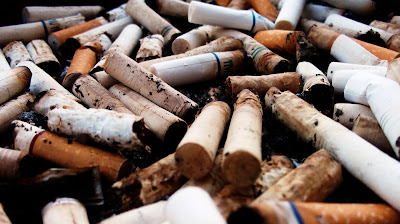
| This was another example of a photo where I used Cross Process Red. I faded the effect about 50% to keep the photo from having too much of a red tint. |
TIP: Remember that the "Fade" bar is your friend! Almost any effect on Picnik can look over-the-top and ridiculous if you choose not to water it down a tad.
Also, I wanted to take a couple screenshots in case there is any confusion about a couple features that I keep mentioning.
 |
| You want to go to the create tab, and then click the Advanced sub-tab to get to Curves. |
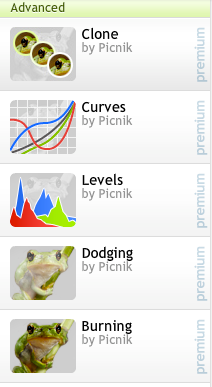 |
| Here are all of the effects in the Advanced tab. I may talk about some of the others later on. |
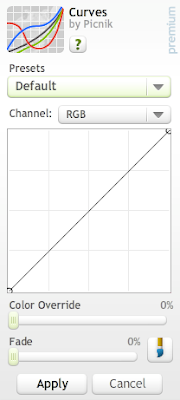 |
| You can use the presets menu to choose different effects within Curves. You can select a specific color channel to apply the effect to (red, blue, green, or all three colors at once). You can also click on the line in the middle graph to play with color on your own and create a unique color effect. I personally do not use the Color Override bar, but you can experiment with that and see if you like the results. The Fade bar I keep talking about is immediately underneath that. Finally, he little paintbrush icon will allow you to selectively use the effect on your photo. |
One other important thing I forgot to mention is that Curves is a Picnik Premium feature. However, Picnik premium accounts are very reasonably priced, and more than one person can benefit from it. My mom has a Picnik Premium account, but she allows my sister and me to log on to her account so we can access the full site. If you're not sure that Picnik Premium is for you, you can see go on the website and play with the premium effects. You won't be able to click "apply," but you can get an idea of whether or not it's worth the money to upgrade your account.


No comments:
Post a Comment